Most people think that pottery is only about creating shapes from clay. While that is true to some extent there is a lot more that goes into it. You need to choose the right materials, tools, and equipment before you can start making shapes. The right choice of material will determine the results. Since you have to do everything by yourself during pottery, you need to invest in the best tools for beginners.
Before trying pottery at home, think about the ideal clay, pottery technique, kiln, and glazing method right for you.

How to Try Pottery: Things You Need to Know
Bring the Right Clay
Experts recommend using stoneware clay or terracotta clay in the beginning. Earthenware or terracotta clays are pretty easy to handle compared to other types. Other perks of using them include:
- They are cheap
- They are less fussy
- They don’t need glazing
- They need a lower temperature to become hard, between 900 and 1100 degrees
All these benefits allow you to practice on an easier clay instead of trying to fumble with harder variations. Now, you can easily keep your enthusiasm for pottery despite failing a couple of times due to never-ending challenges.
Fun fact, this clay is red because of the iron oxide present in it. However, these can leave stains on your floor, wall, or other surfaces that they come in contact with. Unfortunately, they are tricky or impossible to clean. Therefore, you should be careful to try to cover the floor and walls with newspaper to make sure the clay does not stain.
On the other hand, you can also opt for Stoneware Clay, which is also ideal for newbies in the field. This clay comes in white or grey color and requires glazing before using them. Although it’s easy to handle, it is more expensive than terracotta and needs fires of above 2,010°F – 2,370°F. Stoneware Clay also doesn’t cause stains on walls or floors.
So decide which pottery clay will work for you, and purchase 55lbs to 110lbs of it to start practicing your skills. Make sure to consider all the factors while making the decision.
Decide Between Pottery Techniques
To enjoy doing pottery at home, you also need to think about the pottery techniques. Generally, many people use multiple methods of pottery. But for someone who is just starting out, it’s best to go for an easy, comfortable, and accessible approach. In other words, pick pottery techniques that are feasible for you. Here are your options.

Wheel Thrown
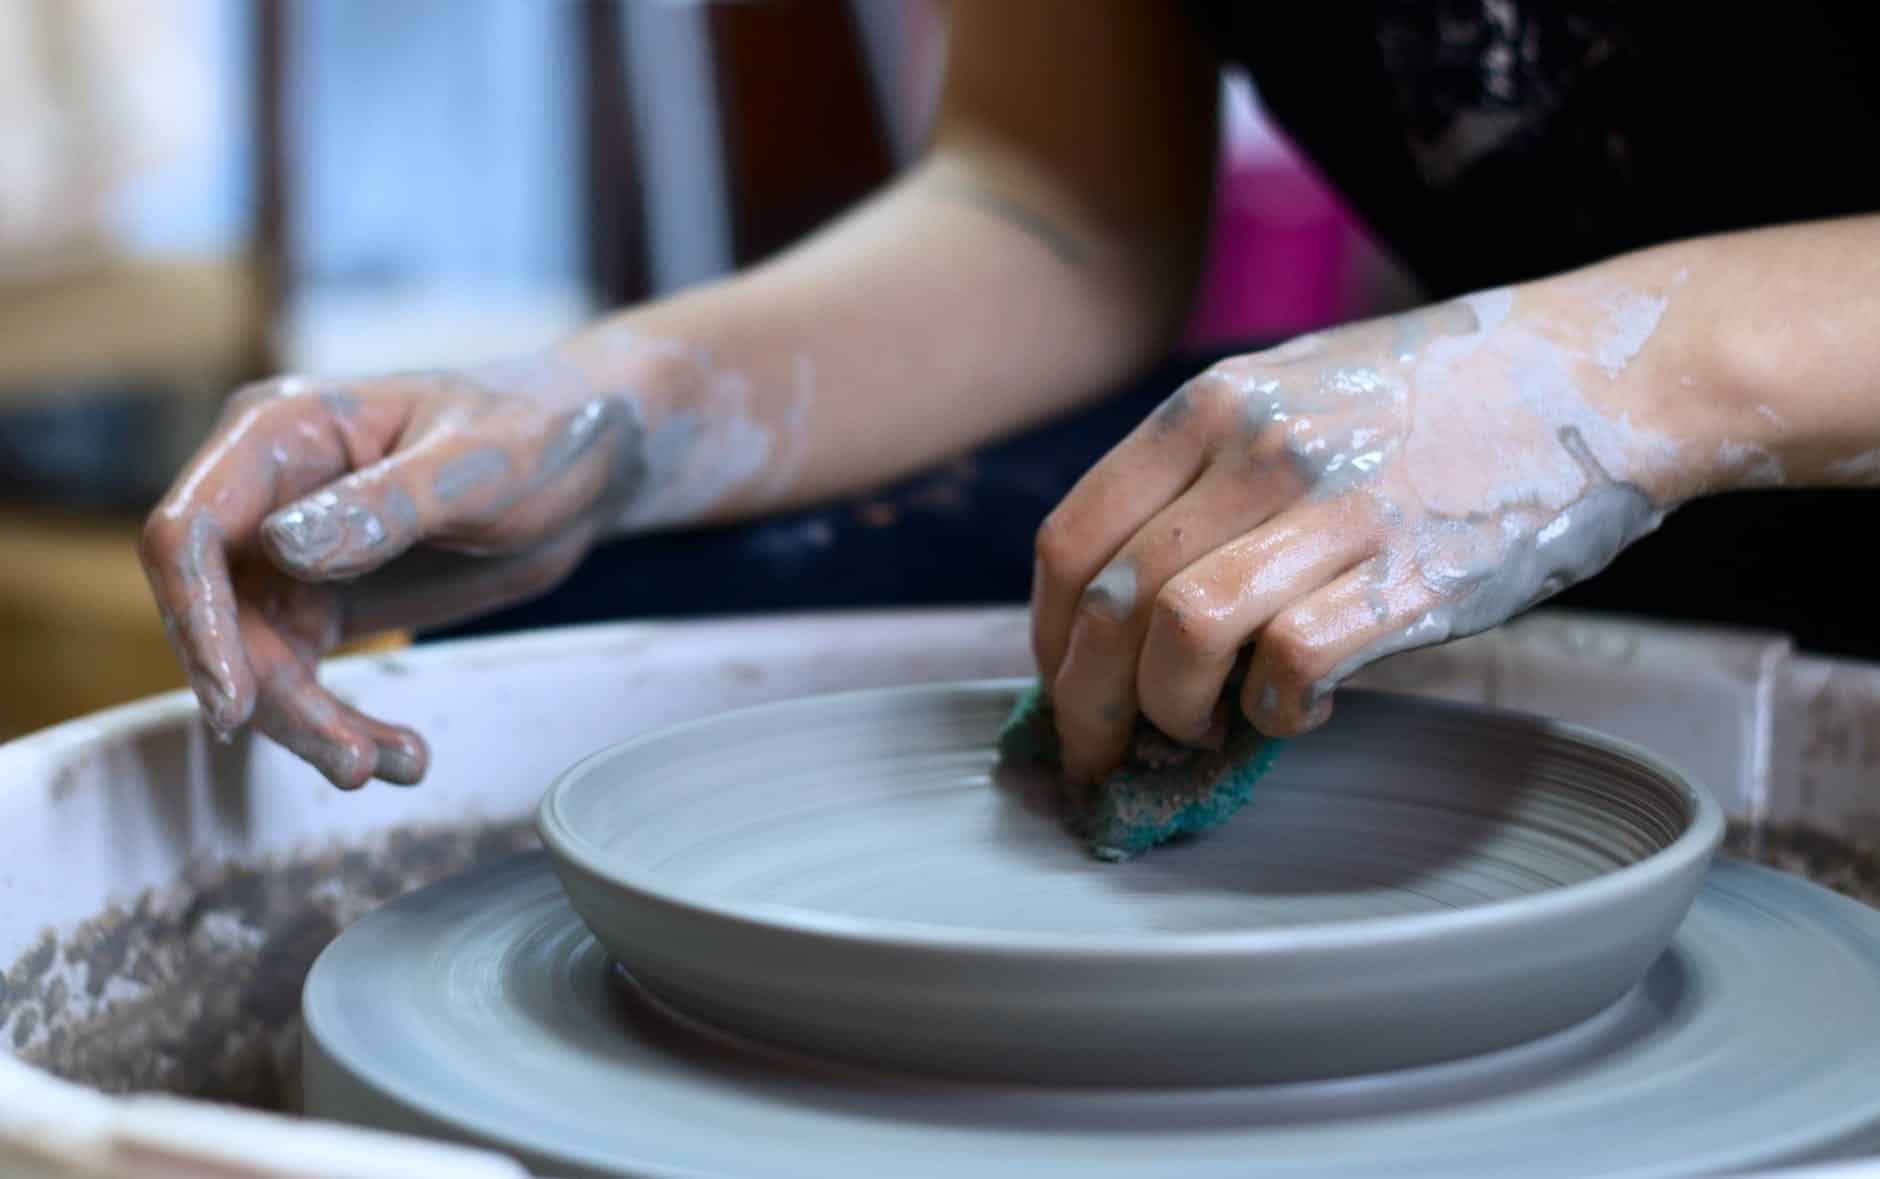
This method lets you spin your clay through a pottery wheel and offers you round edges and shapes. You can mold the clays into vases, mugs, bowls, and any other vessel you want. Experts use this wheel to create wheel-thrown ceramics.
Slip-Casting
With Slip-casting, you need to use clay, named slip, and mix it in water to prepare a mixture. You can either create a mixture with a thicker or thinner consistency, according to your requirements. On top of that, you need to pour this mixture into a plaster mold and let it dry to get in the mold’s shape.
Hand-Building
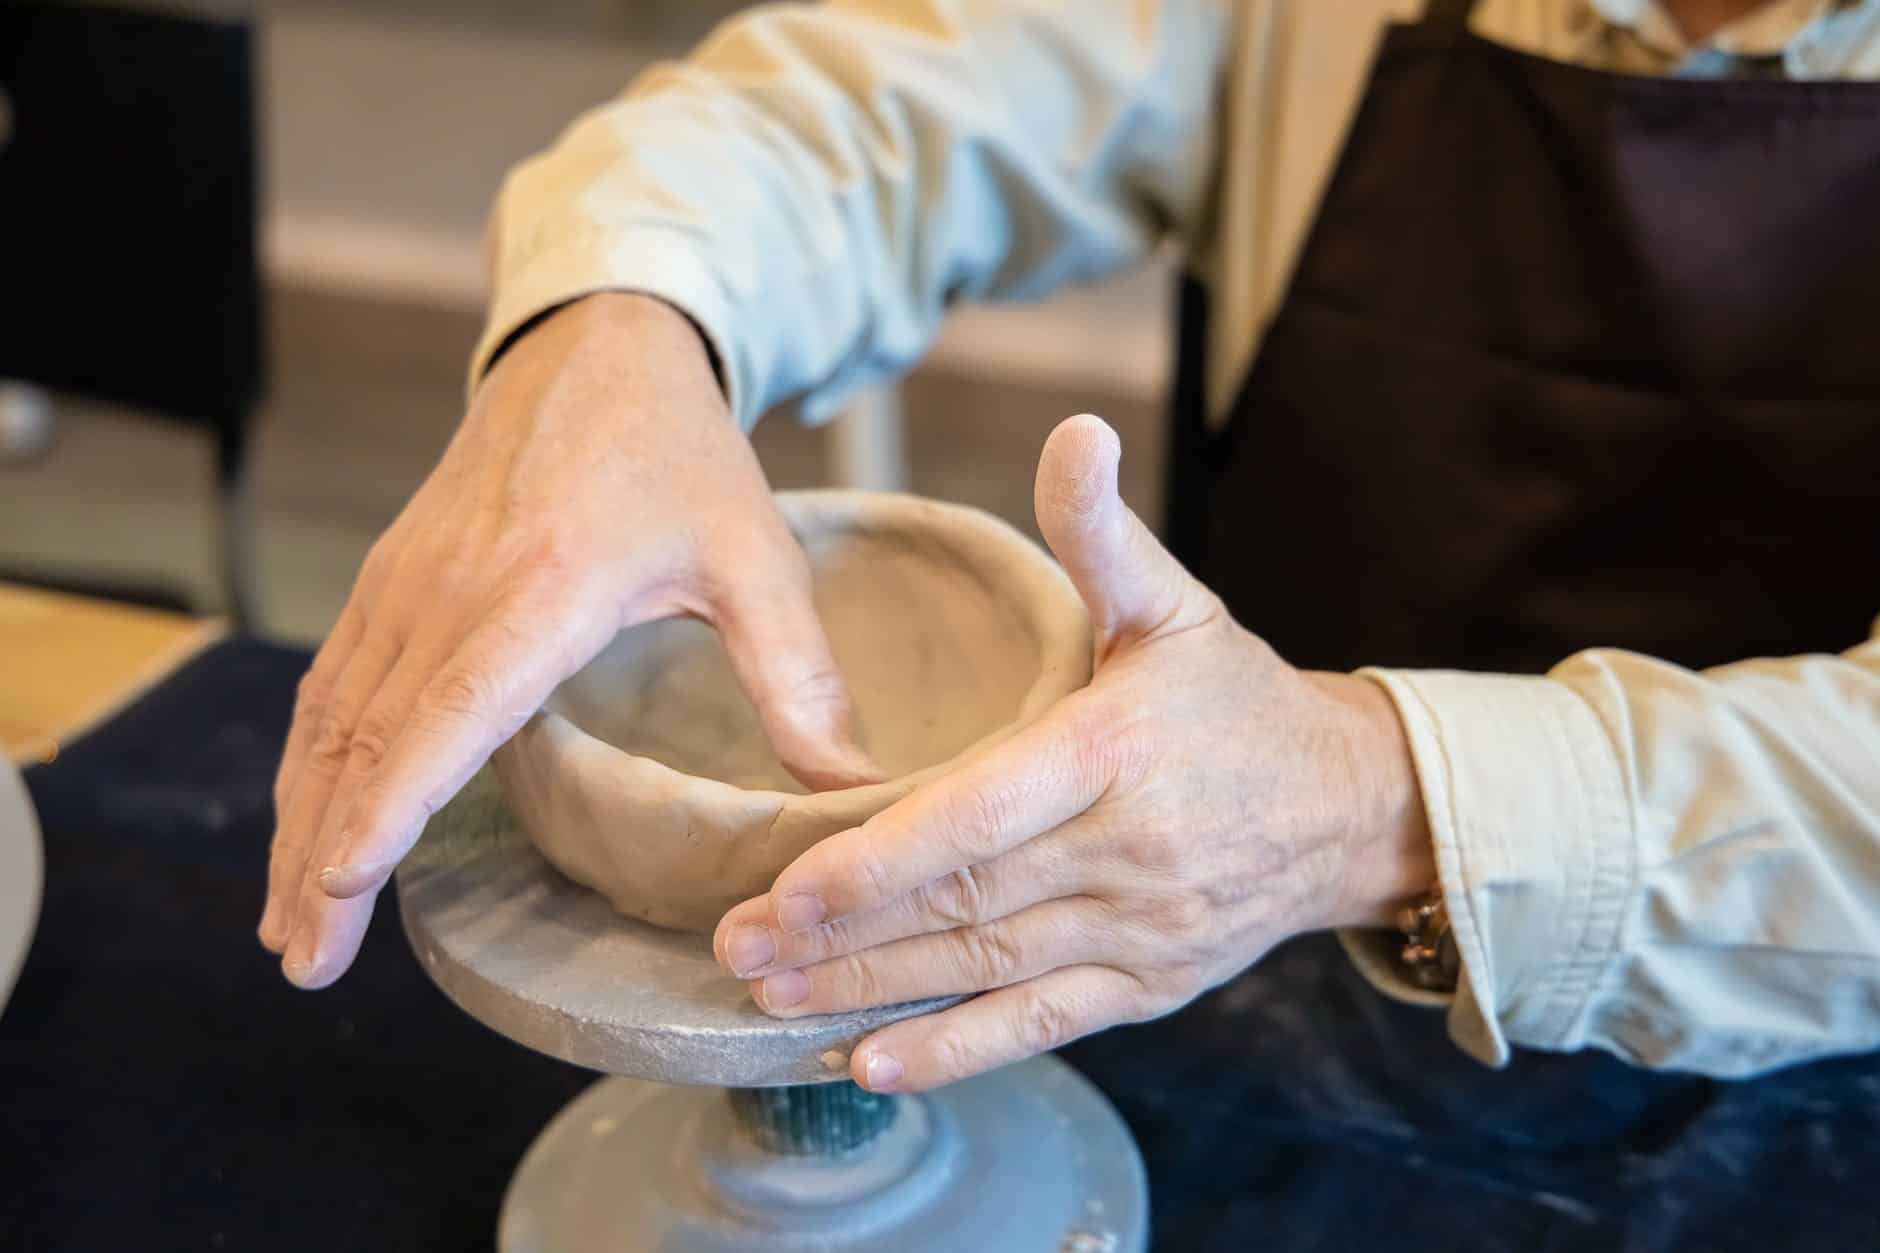
As of its name, you need to use your hands more than any other tool in this technique. You might need slab pottery, pinch tools, coil pots, and molds to create plates, masks, sculptures, and bowls.
Kiln
Another thing a person will need to do pottery at home is a kiln. This equipment helps you heat your clay, giving it a permanent shape. It is important to note that you shouldn’t look for cheaper, low quality, and easily available kilns. Lower quality kilns can lead to fires, explosions, and unwanted results.
Therefore, purchase a kiln that saves you from all the troubles of the future. The best kiln will offer you:
- Durability
- Well-built structure
- Longevity
- Safety
Consider your Glazing Method
If you have to glaze your clay, then which method will you choose for it? Here are some options for glazing your pots, vases, and cups.
Dipping
This technique involves you submerging your creation into a bucket or bowl filled with glaze. Do remember that this technique is fast and pretty easy. Dip your pottery in for a few minutes, and then take it out when you feel like it is ready.
But if you plan to dip your pottery directly into the glazing bucket, it might cost you an incredible amount. This is why, for starters, it’s best to go for the brushing glaze option.
Brushing
In this case, you need to apply the glaze through a brush. Typically, professional artists use a mop brush that absorbs a generous amount of glaze, allowing you to create a thick layer quickly. Moreover, glaze tends to dry quickly. Therefore, you need to apply the solution fast to get an even and beautiful coat.
Pouring
You can even pour glaze on the pottery. If your bucket is too small for your pottery or you don’t have a brush, you can use a small cup. Using the cup, or another object shaped like one, pour the glaze on your finished clay.
Air Brushing
The easiest method is to spray glaze on your pottery. Airbrushing offers you a thin and even coat on your art piece. You can also use two glazing colors and spray them on your product to create a gradient look.
Invest in a Stool
Of course, you need to sit on something while testing your pottery skills, especially since it is time-consuming. You don’t finish making a bowl or sculpture in just a few minutes. Some things can take hours to finish, while others can take days. For the most comfort, create a workstation where you don’t feel irritated. Bring a soft stool or chair that doesn’t give you back or hip pain if you sit for long hours.
You also need to invest in a side tool where you can keep other smaller things. These can include a phone, cup of tea, and finished pieces. You don’t have to keep things on the ground with the clay or pottery wheel when using a side tool. Hence, your things stay clean and undamaged.
Look for Apron & Hand Towel
Last but not least, you will need a hand towel and apron to practice pottery at home. Keep in mind that practicing can become extremely messy and dirty. You need to save your clothes from getting stains and marks. For this, always wear an apron before starting pottery. To make the process as clean and tidy as possible, you can get long denim, canvas, or a cotton apron.
Besides that, keep a washcloth beside you to wipe your hands so that your tools don’t slip from your hands. If you want to keep the floor clean, you can also place a large old bed sheet on the ground. The large sheet keeps your spills from staining the floor.
Bottom Line
Like sculpting or calligraphy, pottery can be extremely challenging for beginners. Many people lose their patience in the first few attempts and leave behind their passion to become a master in pottery. This happens because they choose the wrong elements for doing pottery at home. So, look for easy and accessible options, and practice for a few months with those methods. When you become proficient in the beginner tools, materials, and equipment, you can move on to more professional techniques.


