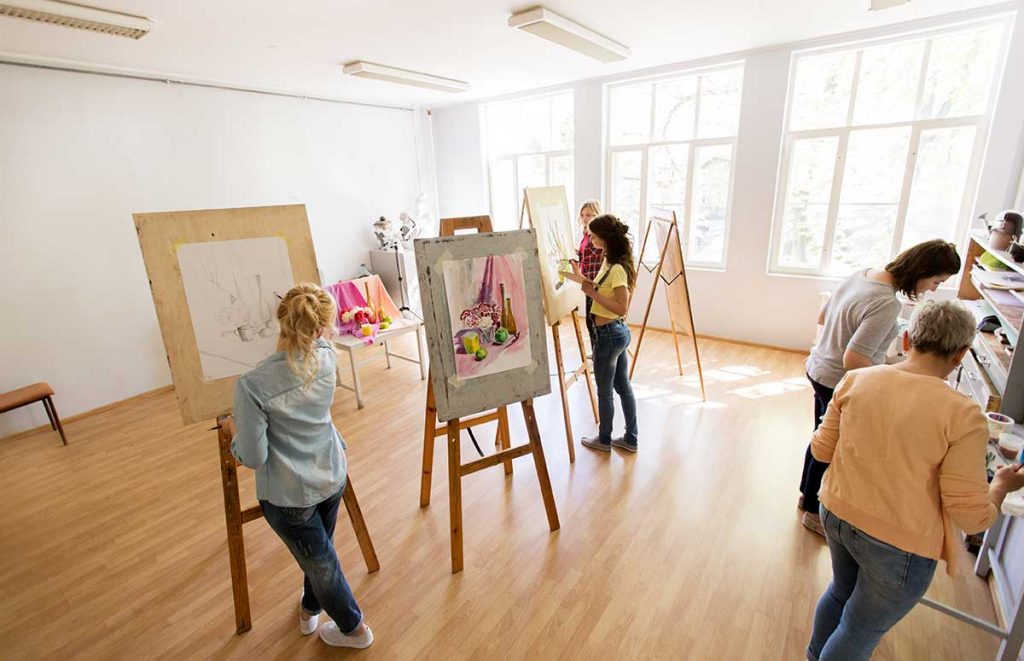
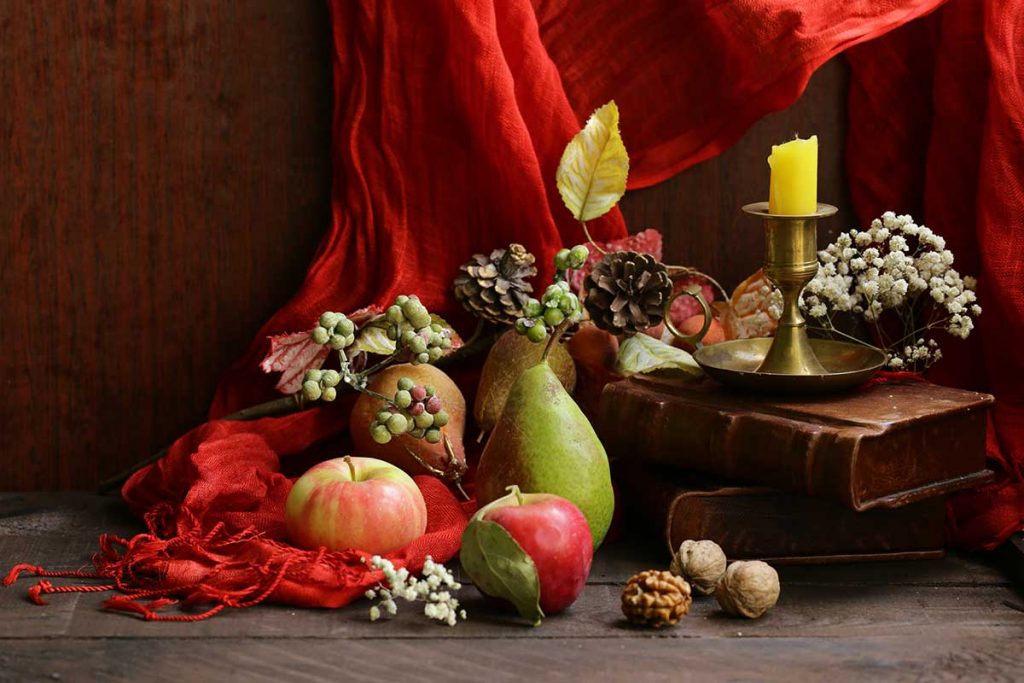
If you had the opportunity to take art classes in school, you were probably instructed to draw a floral arrangement or baskets of fruit. These are just a few examples of still life drawings, which feature scenes of inanimate objects.
While the most common arrangements feature flowers, fruit, and various pieces of glassware, still life drawings can feature anything you have on hand.
Looking for a challenge? Include things like mirrors that require more careful observation to replicate on paper.

The Benefits of Still Life Drawing
Although still life drawing might not sound like the most exciting thing in the world, it’s convenient, relaxing, and helps you develop some important artistic skills.
Here are just a few reasons to get into still life drawing.
It helps you develop your observation.
Still life drawing requires keen observation of an arrangement. This forces you to really look at everyday objects and learn to appreciate smaller details. You’ll be surprised at how much you don’t notice with “everyday observation.”
Much like how a musician can listen to an orchestra and appreciate small details that people generally wouldn’t know to listen for, still life drawing develops your visual observation. If you make it a habit, you’ll start to appreciate the details of different things that didn’t catch your attention before.
It builds foundational drawing skills.
Things like being able to observe and draw outlines, shapes, colors, lighting, scaling, and arrangements are basic, but important skills. Drawing what you can see in front of you is the best way to develop your skills.
If you’ve ever attempted a still life drawing and then tried to create it from memory, your creations were probably wildly different.
Shapes change, lighting is inconsistent, and objects might rearrange themselves a bit. But by practicing still life drawing, you’ll slowly improve at drawing from memory, and eventually creating your own pieces.
You can apply the techniques you learn to other practices.
Many of the techniques you learn through practicing still life drawing come in handy for things like photography and graphic design. Framing an arrangement and creating a scene requires skills like those you would use in photography.
Graphic designers create different arrangements every day. They need an eye for how colors go together and how objects fit together in a pleasing way.
It’s convenient!
If you’re working on your still life drawing at home, there’s no rush to finish it. Your table arrangement will probably be in the same place and you can use just about anything you have on hand.
And even if you live with other people, you can create smaller arrangements on your dresser or nightstand. Things like jewelry, coins, cups, keys, wallets, and other things you keep on you will do.

Supplies You Need to Get Started
You don’t need much for still life drawing if you’re just starting with pencils or charcoal, though a little creativity goes a long way. I sometimes like to get things like unique fabric or other decorations just to make scenes a little more interesting.
Arrangements
I recommend having at least one reflective object, just to challenge yourself. Having at least one mirror can make arrangements more fun to draw.
Bonus points if you have something reflective and spherical that distorts reflections. Objects like this can be a little more challenging to work with, especially in certain lighting.
Drawing Supplies
Starting with just pencils is probably the easiest way to get started with still life drawing, but you might choose to use something like charcoal or dry pastels.
You’ll also want to pick up a big sketchbook or drawing pad. The bigger, the better! Even with small objects, you’ll want to draw them much larger than they actually are.
| Preview | Product | Price | |
|---|---|---|---|

|
Pixiss Artist 10" Proportional Divider - Drawing Tool for Artists - Gray Scale Value Finder, Color... | $15.99 | Buy on Amazon |

Creating a Still Life Arrangement
First, choose a theme. If it’s closer to the holidays, you probably have lots of decorations and table arrangements to choose from.
Themes can be a holiday, certain objects that are used together (like office supplies or electronics), or even a bunch of objects that are a certain color. You might even create arrangements of objects from complementary colors.
Decide the angle you want to draw your arrangement from. You can choose to draw something at eye level or slightly above or below that. For your first drawing, you’ll want a more natural angle. (Save the flat lays for later!)
Arrange everything in a way that both looks pleasing and challenges you.
Creating an arrangement where everything in a line might look okay in some situations, but does nothing as far as challenging you.
You’ll want objects to overlap and create lots of shadows and reflections. I’ve included some books that are great for teaching you how to create your own arrangements.

Still Life Drawing for Beginners: Tips and Techniques
While there are many techniques that come into play when working with still life scenes, these are some things that helped me improve the accuracy of my drawings.
Work with a strong light source.
Having a lamp or softbox light nearby is incredibly helpful when arranging your still life scene. It creates more defined highlights and shadows, making it easier to capture their shapes on paper.
Get a viewfinder.
Having a viewfinder can help compose your image. Remember, when you’re working with a still life scene, you don’t have to capture the entire thing. Much like in photography, a photo doesn’t always show the whole scene.
Unlike photos, you can’t just crop and resize your drawing! But you can use a viewfinder to help capture a particular part of the scene.
Draw negative space.
One of my required books for school wound up being one of my favorites—Drawing on the Right Side of the Brain.
When I first started, I struggled to draw objects I saw on an everyday basis. Even though it was there in front of me, I subconsciously would keep trying to draw familiar objects from memory.
Drawing on the Right Side of the Brain suggests that knowing too much about an object makes it difficult to draw something. They use a chair as an example—you see your dining room chairs every day, from every angle, and that can be hard to translate to what you’re drawing.
By focusing on negative space—the part we know nothing about—it forces you to truly observe and draw what you’re seeing, rather than what you know.
If you only pick up one book on art, let it be this one. It’s the book that helped me figure out how to perfectly replicate what I was seeing when I was just about ready to give up on my art classes altogether.
Practice every day!
If you’re struggling or just really want to improve your drawing skills, drawing something every day is the best way to improve.
Even if it’s just a timed 5-minute sketch of whatever is in your pocket when you get home from work, try it!

Further Reading
I’ve included some of my favorite books, both ones I’ve come across when looking for something new and ones required for school.
Don’t get discouraged if you feel like you’re struggling with drawing still life! Especially if you’re self-taught and in the habit of drawing things from your memory or imagination, it can be pretty difficult.
Looking at different techniques and ways of drawing what your seeing can really help. Everyone has something a little different that works for them, so it’s just about finding what works for you.
| Preview | Product | Price | |
|---|---|---|---|

|
Drawing on the Right Side of the Brain: The Definitive, 4th Edition | $15.73 | Buy on Amazon |
Looking for more hobbies to start? Check out our photography guide for another fun hobby that can help improve your artistic skills!


