Once you’ve made homemade bread, you’ll never want to go back to the supermarket for bread again. Today, we’ll be covering some bread baking tips and favorite beginner books to help make your first loaf of bread a success.

Bread Baking Tips and Equipment
Flour, water, salt, and yeast—sounds easy, right?
Making bread takes a lot of time and effort. While the recipes are simple, execution is another story. Luckily, there are some things you can do to make the process easier and cut down on time.
With a stand mixer and a dough hook, you can drastically reduce the time spent on repetitive tasks (like kneading). Kneading with a Kitchenaid stand mixer (my personal favorite) takes just a couple of minutes, whereas kneading with your hands takes 10-15 minutes.
For some recipes, you’ll want to knead a bit by hand to feel the texture and consistency of the dough, most commercial recipes are simple enough that you don’t need to do this.
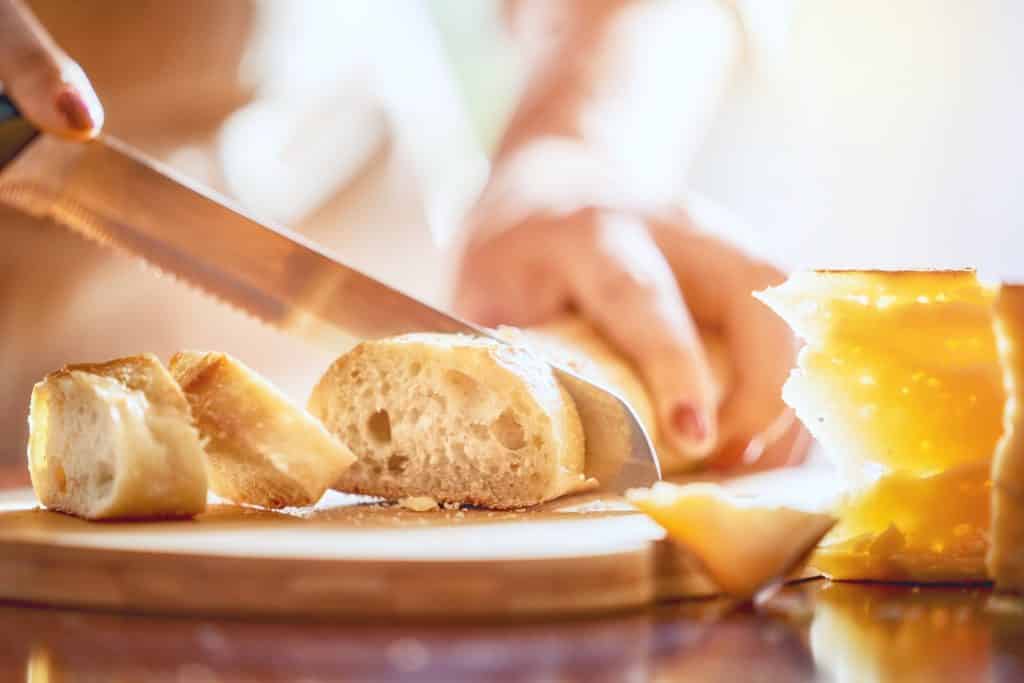
You’ll also want a bread pan, rolling pin, serrated knife, wire cooling rack, pastry brush, and large mixing bowls to help make things easier.
Know Your Ingredients
There are a couple of different kinds of yeast and you have to handle each one a little differently. Active dry yeast has to be “proofed”—that is, you need proof that it’s alive and going to work!
I’ll be honest, I’ve never done this with things like active dry yeast (ADY) unless it’s around its expiration date. The instructions also say you need to dissolve it in liquid before you add it to the recipe, but many side-by-side comparisons say otherwise. (I’ve also never done this part.) If you want to go by the instructions just to be on the safe side, it certainly doesn’t hurt anything. But I’m not convinced it’s necessary to most recipes.
You also have fresh yeast, which is compressed into a cake and has to be refrigerated. This one, you definitely need to proof and dissolved before adding to your recipe. To proof, all you need to do is add it to a little warm water with a pinch of sugar. It should start foaming in about 5 minutes, sometimes a little over. If it doesn’t, it’s not active.
Liquid yeast is my personal favorite to work with and has a personality of its own. It’s a bit like a bread starter, in that it doesn’t necessarily have a set expiration date and can be kept alive by “feeding” it. It can get a little gross if not taken care of properly or used within a week or so, so I recommend starting out with ADY or instant yeast (sometimes labeled bread machine yeast).
Instant yeast doesn’t require you to do much of anything with it—you can add it to a recipe without dissolving it. It’s very stable, unlike fresh and liquid yeast. Other names include quick rise, rapid rise, or bread machine yeast. Most commercial recipes that you come across from manufacturer websites call for this.
Stick to the Recipe (With Some Exceptions)
If you want your bread to come out exactly as the recipe describes, you have to follow instructions. You might be tempted to reduce time and try to skip steps or take shortcuts—don’t!
With baking, one tiny little change can turn your creation into something else entirely. Sometimes this works in your favor, but in the beginning, you’ll want to just stick to the recipe. Once you’re a little more familiar with baking, then you can venture off and make your own modifications to recipes.
And even if you do make something amazing, it’s important to figure out how to replicate that. If you’re just skipping steps to cut back on time and not keeping track of what you’re doing, you won’t know how to make it again!
Use Less Flour
In general (especially with commercial recipes), you’ll want to use less flour than the recipe calls for and reserve about a third of what it calls for to mix in later.
The amount of flour you actually need for bread is dependent on temperature, humidity, and other factors. Sometimes you won’t need the entire amount it calls for. It’s always easier to start with less flour and add more as you go.
Don’t Forget the Salt
Salt (or lack thereof) can ruin your bread. Too much and it can affect how it rises and bakes. Too little, and you’ll be left with a bland hunk of bread comparable to cardboard.
Save yourself the headache and don’t forget to add just a little salt!
Prep Everything Ahead of Time
Some bread is more forgiving than others. For the most part, you’ll have plenty of time to get your ingredients together. However, you’ll want to make it a habit to prep everything ahead of time so you can work quickly when you need to.
For instance, if you’re working with a recipe that calls for frozen butter (which will be rare, but you’ll come across one eventually): if you wait and don’t have everything prepped, the butter will have melted by the time you work everything together. You don’t want things to freeze and thaw a lot, so you’ve potentially just ruined the recipe.
By having everything together, you’ll be able to just grab and go, working quickly.
Have Patience
Bread making requires a lot of patience and some trial and error. You’ll find that there is a lot of waiting, learning from mistakes, and babysitting involved. The results are more than worth it!
Keep a Journal
I suggest this for baking anything: keep a journal when you’re first starting out. Take notes on everything—the weather, indoor temperature, humidity levels, and other factors that can affect your baking. (Especially humidity, which can have a huge impact on your recipe. There are definitely “bad days” for baking bread.)
Don’t Trust the Oven
If you take anything away from this, let it be this last tip—don’t ever, ever, trust the oven. And if you’re using someone else’s oven, don’t expect it to bake things the same way as yours. Babysit whatever it is you’re baking, turn it if it starts browning too much on one side, and watch. The second you look away just a little too long, you’ll wind up with scorched goods.

Books to Start Out With
Now that you have some tips to get started with, here are some of my favorite bread recipe books. These have a mix of beginner and intermediate recipes (and some keto options), so you’ll get a lot of use out of them.
Know a friend who would enjoy making their own bread? Share these bread making tips with them!
You can also check out some of our other guides. Try foraging for more things like nuts, berries, or herbs, to add to your bread. You may also enjoy our beginner guide on cooking.


