One of my favorite things to do as a kid was tag along with grandfather on one of his rock hunts. While we were primarily on the lookout for geodes and other crystal formations, some of the lower areas would turn up lots of fossils. We live in the Texas Hill Country, which is home to many rivers and a lot of undeveloped land—perfect for finding interesting formations that you can’t find in more developed areas.
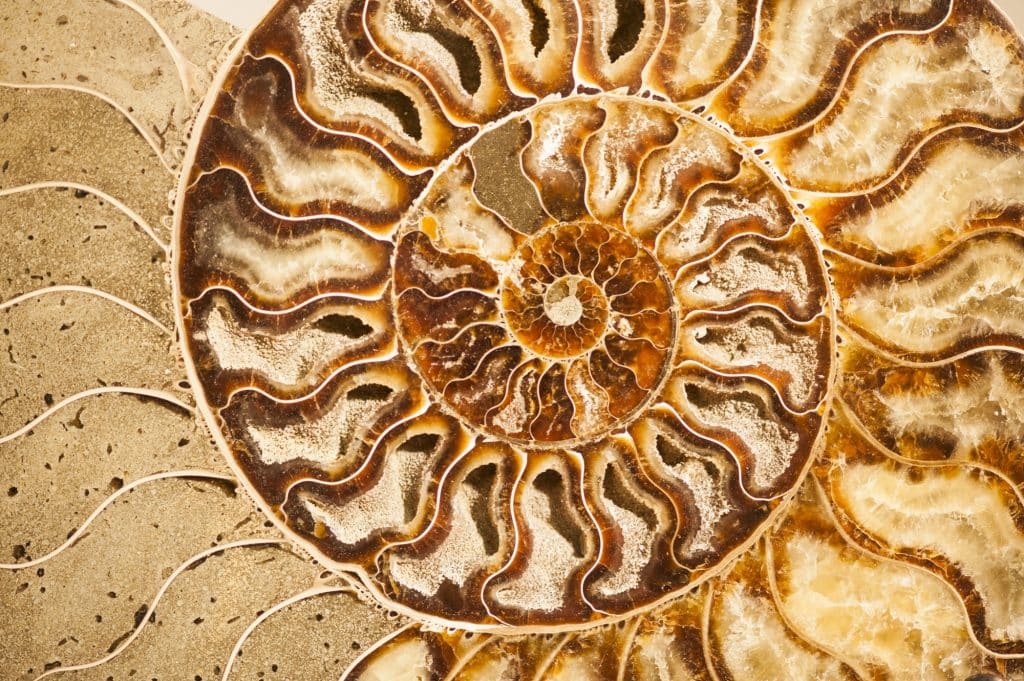
Fossils are a lot more common than you may think. The most common ones are from pelecypods, which have two similar shells that mirror each other. My favorites were the soft “heart” shapes of the Vanuxemia, which make beautiful decorations when polished. (I love the unpolished look of fossils as they’re found, but ones with rounded forms and fewer details make wonderful polished pieces.)
Today we’re talking about fossil hunting for beginners—the very basics, such as where to start looking for local identification materials. My knowledge is limited to what’s common in the immediate area, but I’ll point towards some resources to help you get started.

Fossil Hunting for Beginners: Where to Start Looking
The best place to start, especially if you’re looking to meet other people, are fossil parks and guided dig sites.
Most parks allow you to find and take fossils home, with only a few rules and regulations to help conserve the site. Sites often have several areas. They’ll usually have a “sandbox” type area where the ground is broken up and you have instructors on-site to help you learn to identify different types of fossils. The second area usually requires some sort of membership or admission and is meant for more experienced collectors who have their own equipment and already know how to ID fossils and safely collect them. If you’re looking for something in between, you have guided digs where you can go hiking out to outcrops or in caves to look for fossils.
I haven’t really been able to find a general “locator” site, but you can do a search on Google for sites in your area (I might look up “Texas fossil hunting sites” or something along those lines). You can also find a list of fossil parks here.
Another good place to check is Meetup.com. You can often find fossil hunting groups in your area that will know some good sites to visit, both public and privately owned. Experienced mentors offer lots of invaluable information and can often help you get started a lot more quickly than if you were to learn on your own.

Equipment to Bring
Bigger, touristy fossil hunting sites will usually have concessions and tools available for rent, but you’ll eventually want to work on getting your own equipment for when you break away from the bigger sites!
Most importantly, you’ll want to bring everything you would bring on a hike, as you’re likely to be out for an extended period of time. You can find our favorite hiking tips and equipment list here. This covers all the basics of what to bring on a day trip, starting with the basics like food, water, and sun protection. You’ll also want to bring some gloves and kneepads, as well as safety goggles for when you’re chipping away at the rock.
For the most part, you’ll almost always want shovels and trowels for digging and chisels and hammers for breaking up the rock. Depending on the area you’re in, you’ll have to do a lot of digging. (We’re lucky with a few areas where you can find fossils around on the surface and in softer bits of sediment, but don’t expect that to always be the case!) You can find a full list of recommended equipment below.
You’ll also want brushes for a quick cleanup, as well as plenty of ways to carry fossils (preferably durable canvas buckets) as well as something to jot down findings. It’s also a good idea to have some kind of field guide available, especially until you’re familiar with what types of fossils are in the area. Having a GPS is also really handy, as most of what you can learn about a fossil comes from its location. Without location data, you pretty much have a paperweight.
Lastly and most importantly, bring friends! It’s always easier and safer to go take trips in a group. You’ll have people around if anything goes wrong and you’ll have some extra heads to help you identify things you’re not familiar with.
What to Do with Fossils: Fossil Preparation
When you find fossils and are getting ready to head back, wrap them in toilet paper, packing paper, anything to cushion them and keep them from rubbing against each other or taking any hard bumps. While most fossils I’ve come across are pretty solid, others, like bones and trilobites need a little more care. (And no matter how experienced you are, mistakes happen. It can be hard to tell how well something will hold up once you’ve dug it out!) Bring a bunch of packing paper and tape so you can protect them until you get home If you’re not able to easily remove the rock encasing them (matrix), it’s best to just leave it until you get time to clean them up. Wrap them up, matrix and all.
Most fossils you find, particularly coral and “seashell” types, pop right out of the ground, will hold up to water and a toothbrush, and are easy to handle. However, it’s better to leave more fragile fossils for when you’re more experienced. You’ll want to avoid the use of water and stick to air hammers and dental picks after you’ve removed larger chunks of the matrix. You’ll soon find that using larger tools, it can be difficult to remove matrix without damaging softer fossils. Cracks tend to go through both the surrounding matrix and your fossil, leaving you with the task of reassembling. Finding a good air hammer and compressor can be a bit costly, but it saves so much time. (And don’t bother with the portable compressors—get one with a big tank. Smaller ones lead to jerky movements when you run out of air and can mess things up. The bigger the tank, the smoother things go.)
As for polishing fossils—you’ll get mixed opinions. It’s largely personal preference if you’re keeping them for yourself. But it seems like many collectors prefer them just cleaned up and otherwise untouched. I personally don’t recommend doing any polishing on most things—just a quick clean-up and a bit of grinding when there’s still a thin layer of sediment covering up the finer details.
Additional Resources
If you’re looking for people to learn from, I highly recommend checking out Meetup for local groups or The Fossil Forums if you prefer online resources. You’ll find lots of helpful guides and discussions. (And if you know a friend who’d enjoy taking this journey with you, be sure to share our guide on fossil hunting for beginners with them! Hobbies are always more fun with a friend.)
I’ve also included some of my favorite guides below, which can be purchased through Amazon.
Looking for more outdoor activities? Check out our guides on metal detecting and foraging.


