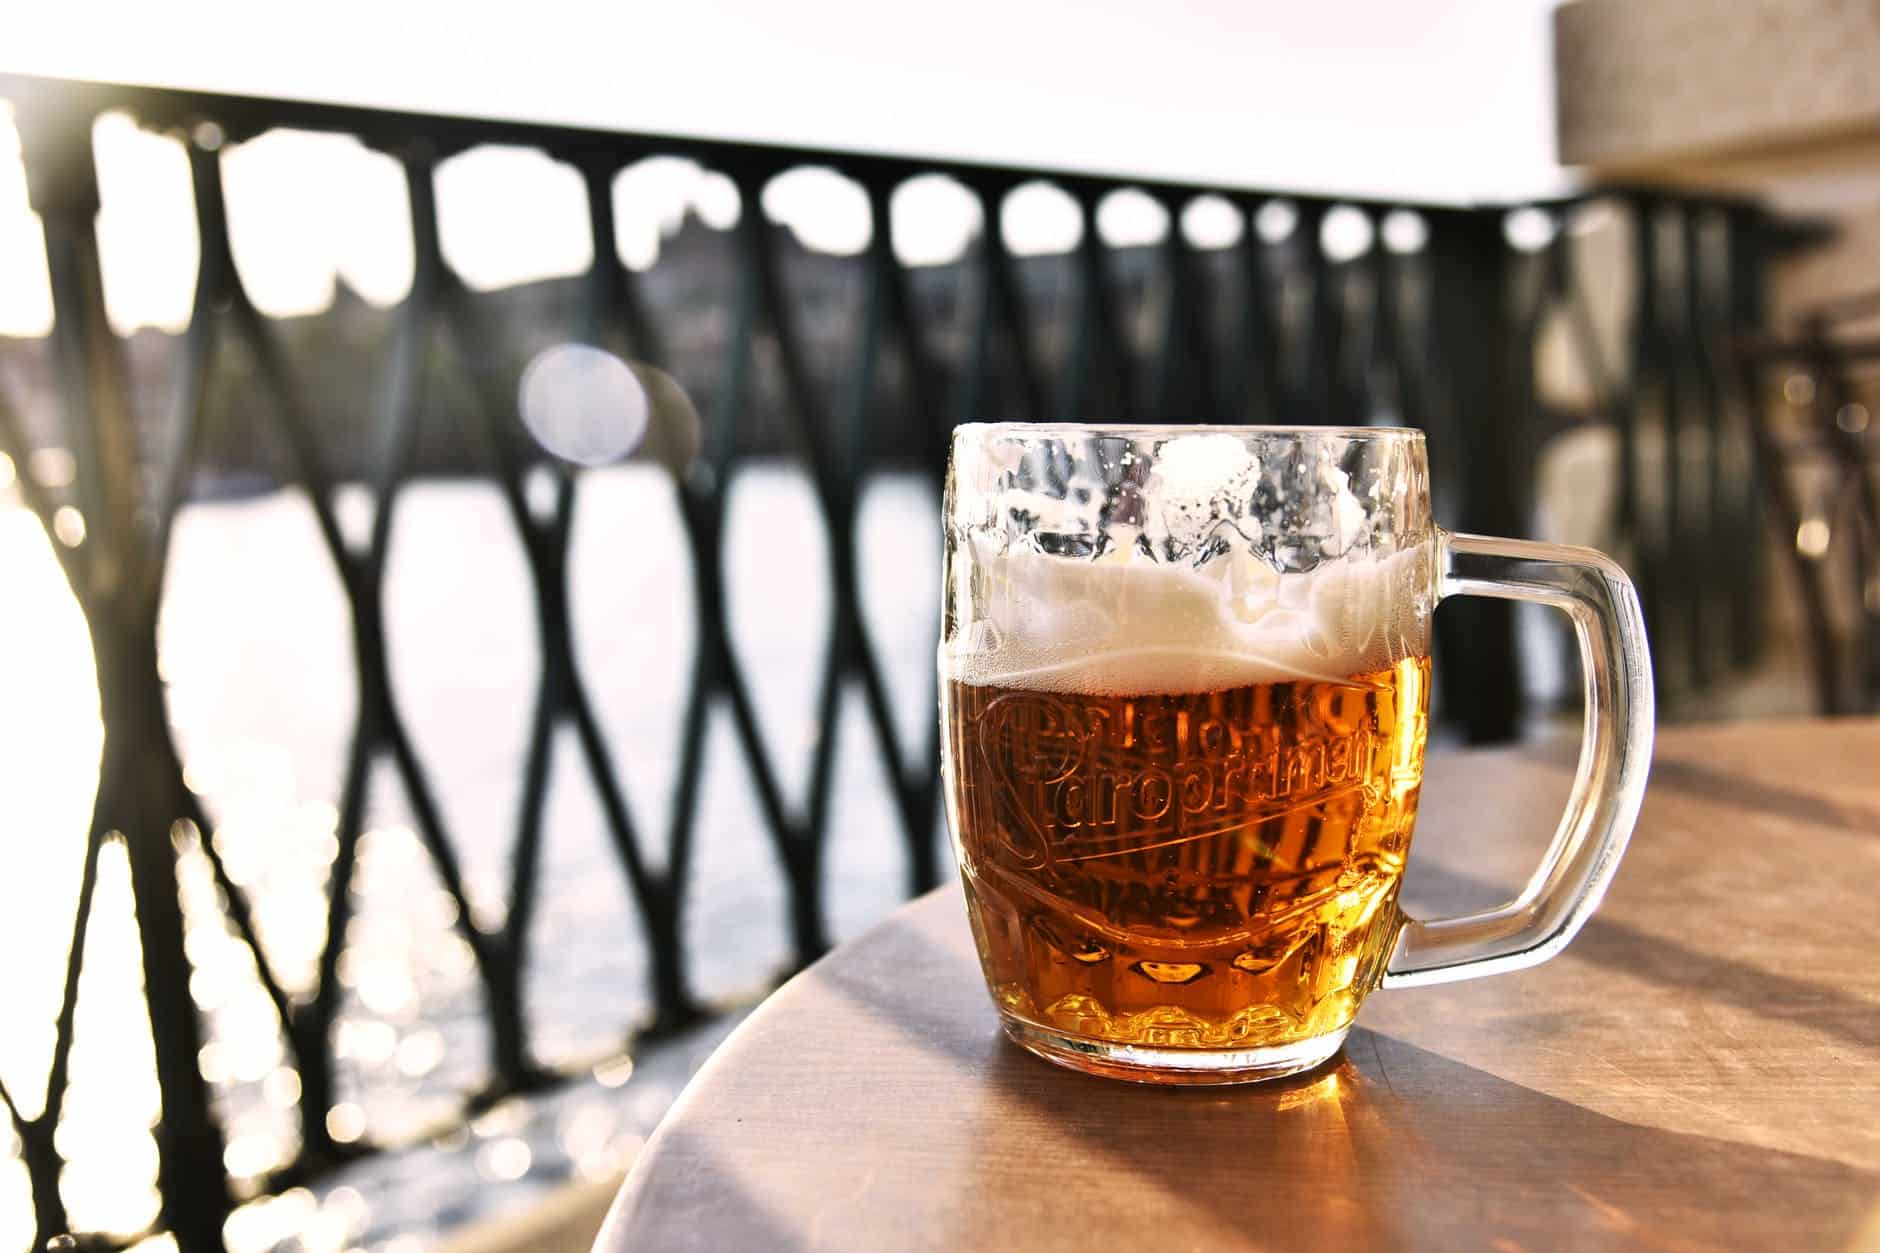
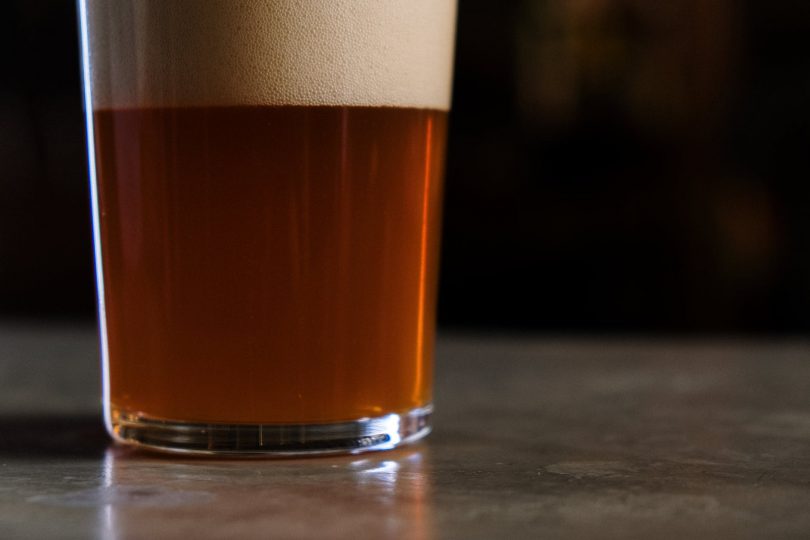
Some people may be dubious, but homemade beer is as delicious as some of the popular brands in the country. Brewing a beer isn’t necessarily a hard task. However, you will have to maintain consistent temperatures and use the right equipment.
So, if you want to enjoy the contentment of having your homemade collection of beers, it’s best to begin your journey with easy beer.
Things You Need to Make Homemade Beer
Before beginning the process, you will need to gather the following items (with links to our recommended items).
- Fermenter and airlock
- Brewing Kettle
- Funnel
- Stir spoon
- Sanitizer
- Auto-siphon
- Beer recipe kit (you can also make one from individual ingredients)
How to Homebrew Your Beer
Step#1: Sanitize
You should know that your results greatly depend on how clean your accessories and equipment are. This is why you need to sanitize each piece of equipment that will come in contact with your beer after the boiling process. Also, it’s better to choose sanitizers that work well to clean beer equipment.
Step#2: Steep Grains
In this step, you need to half fill a kettle with 5 gallons of water. Boil the water and steep grains in it for 20 minutes. Make sure to keep them in the water until the temperature reaches 170 degrees. After that, you need to remove the grains, but allow the water to come out from grains while keeping them in the air for a few minutes.
Apart from this, make sure to avoid squeezing your grain bag, as it can extract tannins, which will result in unpleasant flavors in your beer.
Step#3: Boil the Kettle
Bring your kettle to a rolling boil, and remove it from the stove. Now, you need to add malt extracts. After the extracts dissolve completely, put them back on the stove and start boiling them.
At this point, you need to add hops in smaller amounts. Keep in mind that the content of your kettle should not boil over while you are adding hops.
Step#4: Prepare Wort
You may have heard of wort. It is the liquid that is extracted from the rigorous mashing process during the brewing of either beer or whisky. In this step, you need to cool the wort before adding it to the solution. The following are two methods to do that:
- You can fill your sink with ice water and place the wort in it. Try to do this as quickly as possible so that the water doesn’t get warm.
- Bring a wort chiller, and insert it in your wort. Moreover, open your tap and allow chill water to run out of it through the chiller.
Although both methods work well if you perform them accurately, a wort chiller is the easiest way to perform this procedure.
Step#5: Ferment
Worried about how you will ferment your beer? Well, this step is as easy as the ones above. Start by pouring your wort into the fermenter. You can invest in a brew kettle that comes with a valve for the easy transfer of liquids to the fermenter.
Once you are done with it, you need to bring the solution to the 5-gallon level. You can do this by adding the required water. Keep in mind that yeast requires oxygen to work. This is why you need to splash wort around its container to aerate the wort.
As a result, your solution will have enough oxygen to process. Take dry yeast, and add yeast to the fermenter. But before that, ensure to sanitize the scissors and yeast pack, and then cut the corner of the package.
When you complete these steps, you should close or airlock your fermenter. Store it in a completely cool and dark place. To make a homemade beer, it’s best to store your fermenter at 68 degrees to get the best results. Also, the fermenter needs to stay in place until fermentation, typically for two weeks.

Step#6: Bottling
Again, sanitize everything from bottle caps and bottle fillers to bottles and bottle buckets. If you are using hoses to transfer, sanitize them too. Wondering how sanitizer can reach inside the bottles? It’s easy: use a brush for this purpose.
Take priming sugar, and boil it in 16 oz of water. Add it to the bottle filler when it gets cool. Now transfer your beer from the ferment to the bottle filler through siphoning.
Try to leave all the sediments in the fermenter, if possible. Now, fix the hose on your bottle filler and attach it to your bottles. Open the spigot of the bottling bucket.
Then, fill up your bottles right to the top. After that, you need to place the cap on your bottles. You can also use a bottle capper for this purpose. The last thing you need to do is keep the bottles at room temperature for at least two weeks. This will give your beer the right time to carbonate.
Step#7: Enjoy
Finally, it’s time to taste your beer. Surely, you will be surprised by the amazing flavors of your homemade beer. Once your beer is ready, you can keep it in the fridge to serve your guests.
Tips to Keep in Mind
Never Overlook Sanitization
For homemade beer, the sanitization process is as important as any other steps in making beer. Take your time, and sanitize everything.
Always Consider Long Term Use
Equipment for home brewing your beer can cost you a lot of money. It’s important to purchase the right and high-quality items that you can use for a longer time.
Get a Big Kettle
Don’t opt for a small kettle. Since you will be doing a lot more boiling work, your ingredients may spill. So, make sure to invest in a kettle with a capacity of at least 5 gallons.
Bottom Line
Making homemade beer is the best hobby for beer enthusiasts. Well, you can even start selling beer and earn some money as you can do by selling homemade candles. Simply put, you can take this activity to a whole new level.


