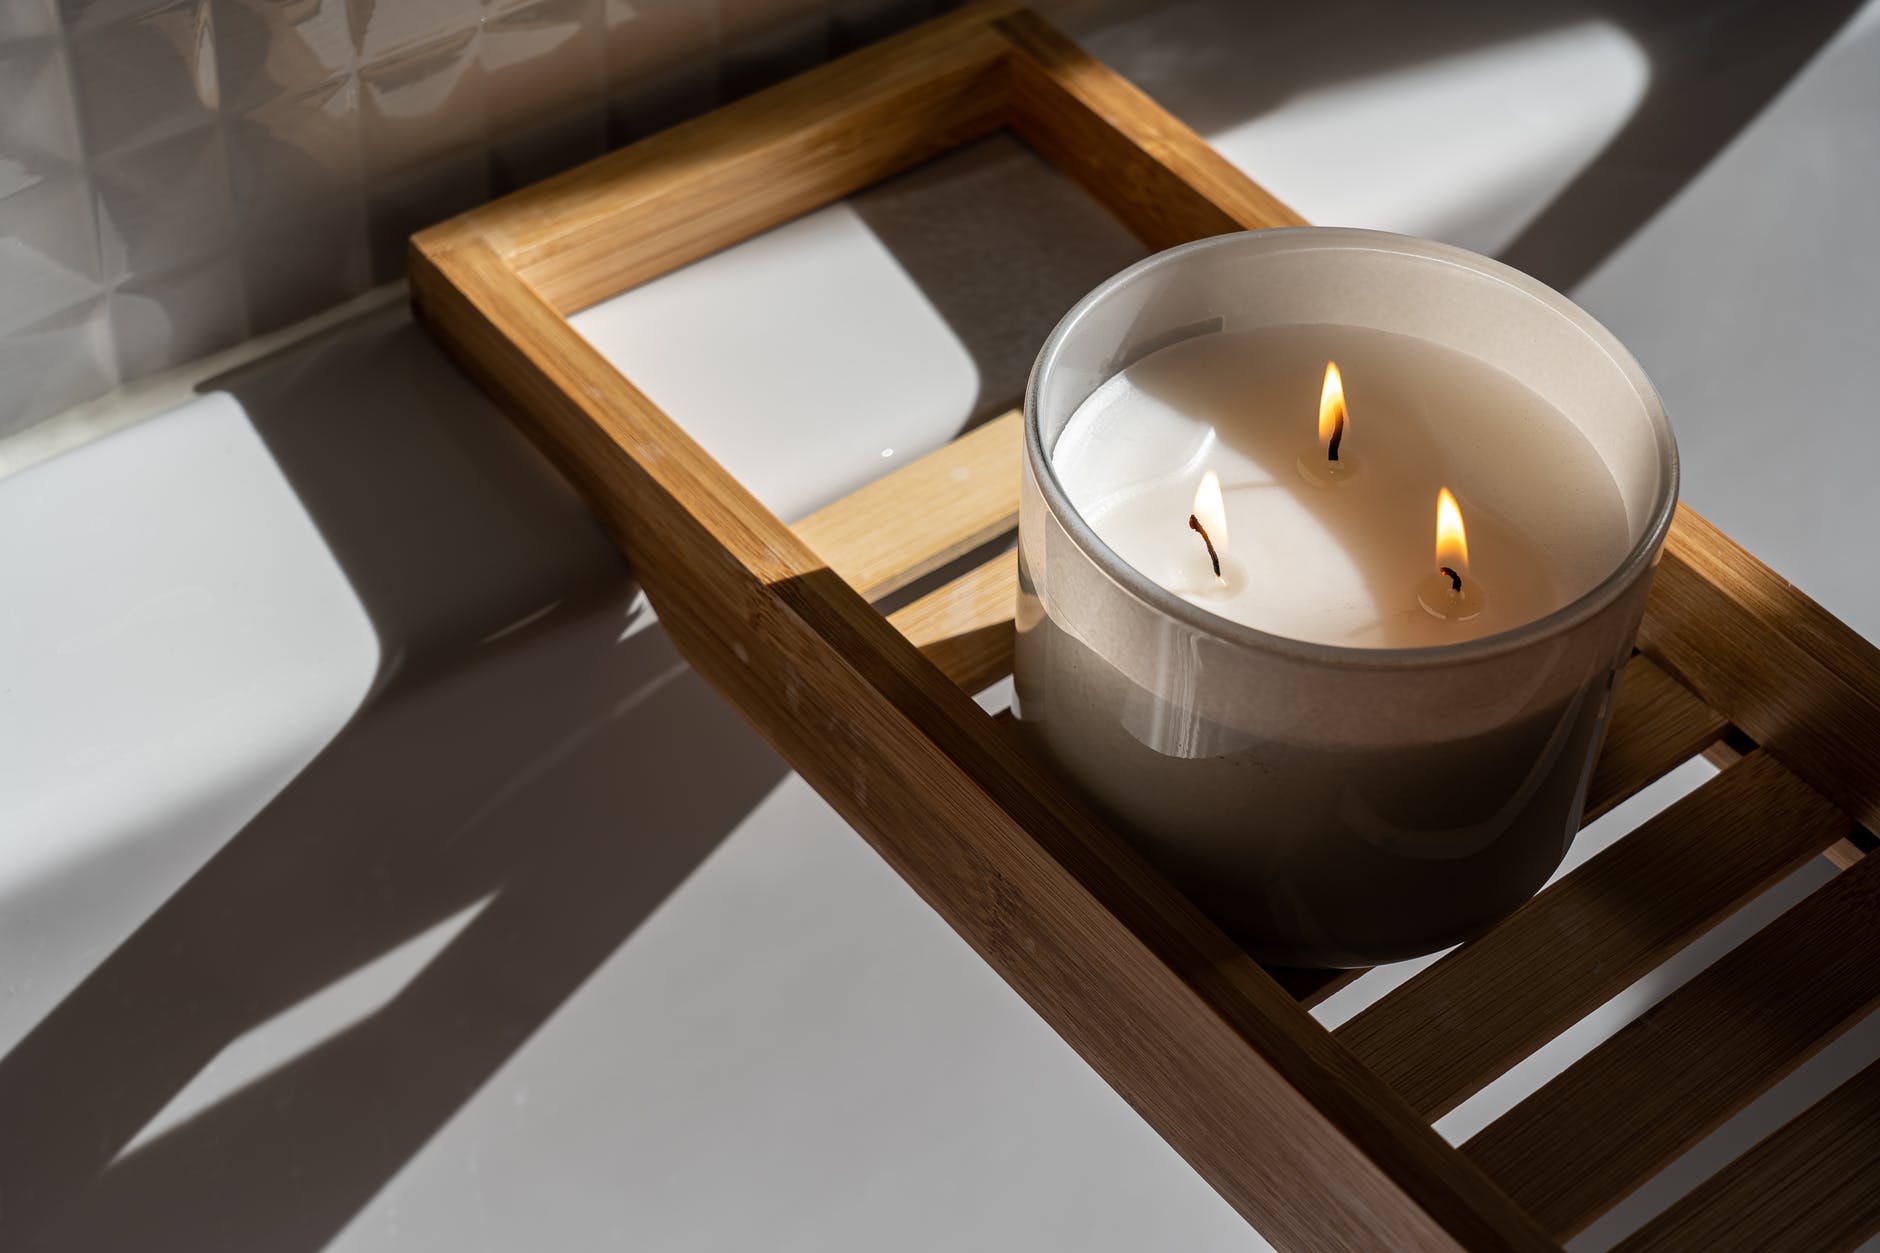
Candles can fill your home with a familiar scent and make it feel cozier. The scent of lavender or vanilla can help you unwind from a hard day’s work, while citrus and spice can lift your mood. But these candles can be expensive to use and dry up pretty fast.
Fortunately, if you like to use candles often, you do not have to compromise. You can easily make your favorite candles at home with a few supplies and a little bit of elbow grease. So without further ado, here is how you can make homemade candles.
Things to Get:
You need three main components to make a candle. These include a container, wax, and a wick. So regardless of the type of candle you are making, these three things will stay constant. Other things include:
- Fragrance
- Chopsticks
- Colors
- Hot plate or stove
- A pot
- Measuring flask or container
While both color and fragrance are optional, they can add a lot of personality to your candle. You might even be able to make unique candles.
How to Make a Candle
Now that you have all of your materials and tools ready, it’s time to prepare your candle.

First Step: Measure Your Wax
Pick out a flat, clean surface that you wouldn’t mind getting messy. Although you will not have to worry about the wax falling anywhere as long as you are careful, it doesn’t hurt to be proactive. You can even place some newspapers or old sheets on the surface to make cleaning easier. If you’re looking for a complete , then here is one that also contains instructions and measurements.
Place a measuring flask or container on the surface and measure out how much wax will fit in your container. A good tip to remember is that you should always melt twice the amount of wax you will need for your container.
Second Step: Start Melt
After measuring the wax, pour it directly into your pot and heat it up. Be sure to stir the wax as it heats up. It should not take more than 10 to 15 minutes to melt your wax.
Third Step: Add Your Fragrance Oils
Once the wax melts, it’s time to add the fragrance oil. Even though this step is completely optional, you should still add some to give your candle a nice smell. Simply add your favorite essential oils to melted wax according to the measurements on the packaging. After adding the fragrance oil, stir the mixture for a few seconds. At this stage, you can also add some color to the wax.
Fourth Step: Add Your Wick
Now, it’s time to take out your wick and container. You can choose from different types of containers, and while most will work fine, try using an old container. Using a previous candle’s container is budget-friendly and eco-friendly as well.
Attach the wick to the bottom of your container. By sticking it to the base, the wick will cut right through the wax in a straight line. Dip the wick in the melted wax and quickly attach it. Be careful, though: it might be hot. After placing the wick, wait about five minutes for it to harden properly.
Fifth Step: Bring in the Wax
Once the wick hardens, your container is ready for the wax. Pour from the pot directly into the container but leave some space at the top. This will be important later. Of course, before you actually pour it in, be sure to check the wax’s temperature. If the thermometer reads 140°, your mixture is ready. Hold the wick in place when pouring in the wax, but try not to pull on it.
Sixth Step: Straighten the Wick
Since the mixture hasn’t solidified yet, there is a chance that the wick could lose shape. Therefore, straighten out your wick and suspend it with something to keep its shape. The best thing to use is two chopsticks that can perfectly suspend the wick in place.

Seventh Step: More Wax
You will need to let the wax settle for about 3 or 4 hours at room temperature. Once it settles, you might notice some cracks or holes on the surface. If that is the case, then just add some wax to top it off. Then, make sure to secure the wick again. Even though it might not be necessary, it still helps to be careful.
Eighth Step: Shorten the Wick
You are now at the final step of creating a homemade candle. Congratulations! Now, all you have to do is shorten the wick, and you will be good to go. Standard wicks should only be half an inch long, so you should cut off the rest. But if you feel like the flame for your candle is still too tall, then you shorten it further.
A Few Tips to Remember When Making Your Candles
Making unique candles can be an absolute joy, but you should take a few things into consideration before you begin.
Choose the Right Materials
Although these are certainly DIY candles, you do need the right materials and equipment for the job. Be sure to buy the best quality materials for a safe candle-making experience. Choose wax that is specific to candles and nothing else. You can find a variety of wax types, each of which serves a different purpose. Here is candle wax that would be excellent for your homemade candles.
Furthermore, try to avoid using crayons for your candle dyes, as they can usually get in the way of your wick. This can prevent your candle from burning properly.

Avoid using perfume
Perfume and various types of scented sprays are inherently flammable. So adding them to your candle can make it dangerous. Instead of using flammable liquids, you should use essential oils or fragrance oils. They are more potent and don’t catch fire. We would recommend using .
Be Specific about Temperatures and Measurements
Remember to pay attention to the different temperatures and measurements of your ingredients. Even a slight change in the measurements can affect how the end result turns out.
Choose Your Containers Wisely
The best containers for your homemade candles are ones that can take the heat. These can be ceramic, metal, or even glass. Try to avoid using plastic, as it might react poorly with your wax and the heat. But if you want something more personal or different, then why not use these beautiful jars.
Get Wicks That Burn Longer
Different wicks can burn for longer or shorter durations, depending on their quality. Be sure to get the wick that is right for you and will burn as long as you need it to. Here is my recommendation for a cheap and easy option for wicks:
Keep Trying
Finally, there is a chance that you might mess up with your candle, or it might not turn out the way you wanted. But if you are new to making candles, that is bound to happen. Just remember to keep your head high and do your best. However, try to be careful when working with candles, as you wouldn’t want to burn yourself.


