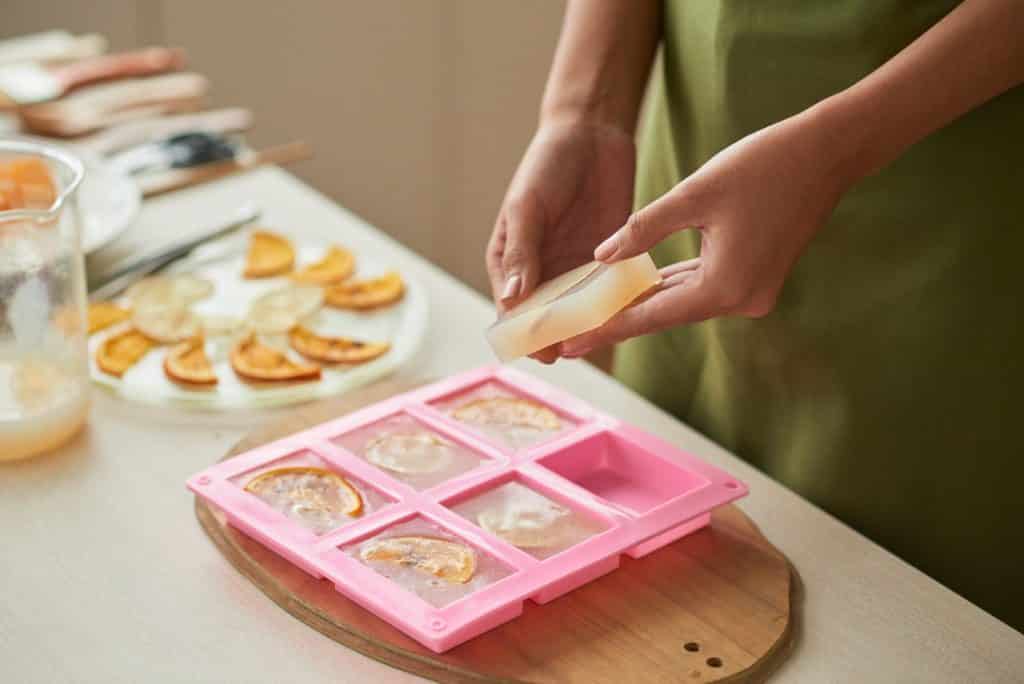
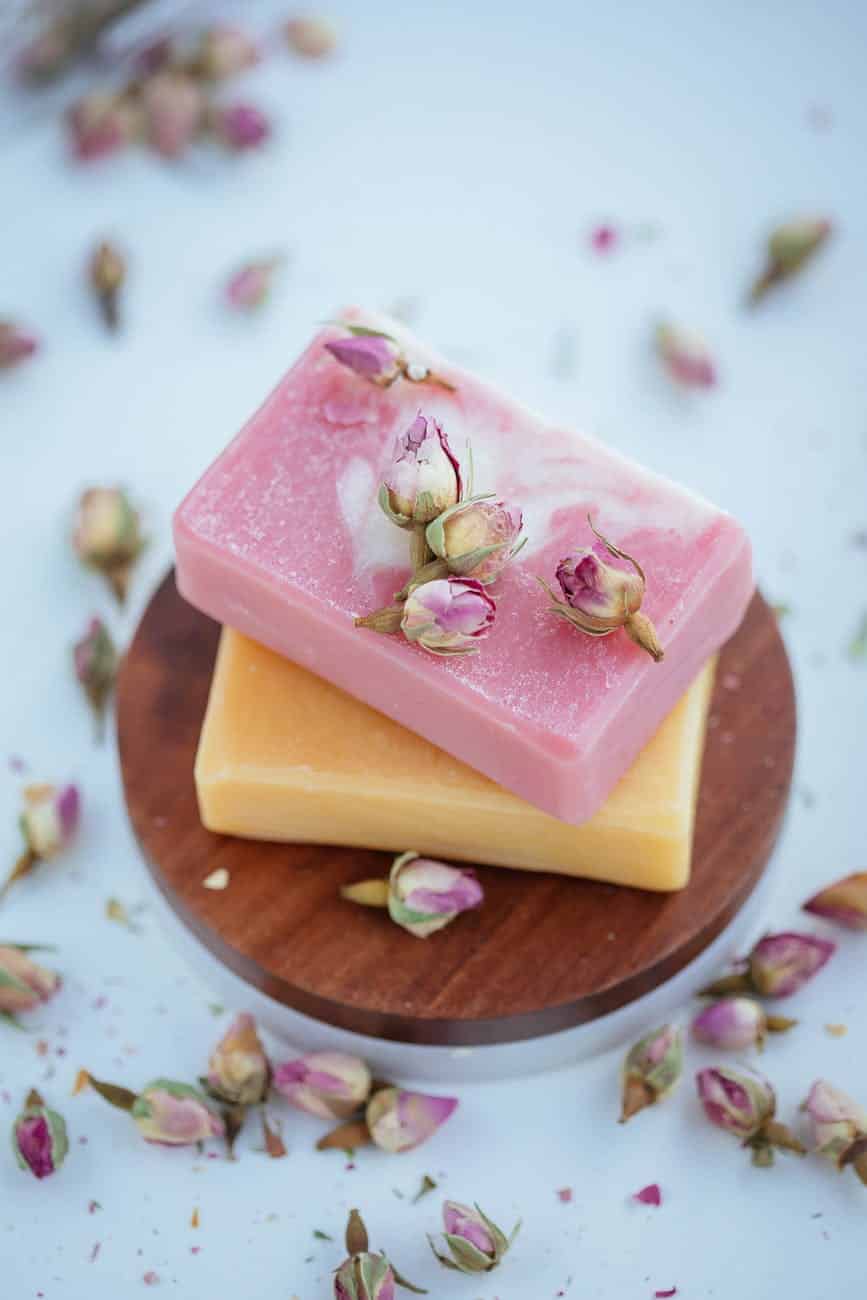
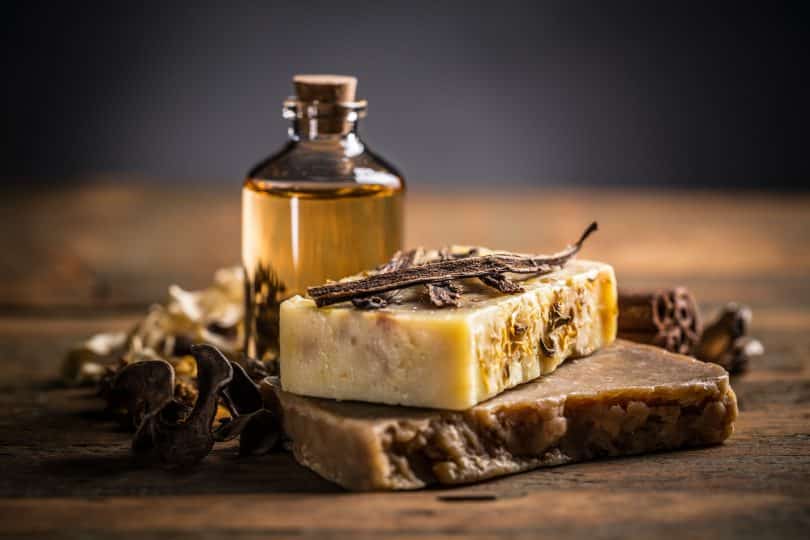
You’ve probably seen them at craft fairs and gift shops—those beautiful bars of soap with all sorts of unique additions. They’re so pretty that you’re almost uncomfortable using them.
You can do these from scratch, but if you’re just looking to make a few for gifts, you might want something a little more approachable. Enter: melt-and-pour bar soap kits.
Bar soap kits make it easy to whip up a batch of soap without going through the often messy process of doing things from scratch. It’s also a bit safer if you’re working indoors and haven’t ever made bar soap before.
While making soap from scratch offers a lot more options and you can tailor your recipes more, kits like these offer a good starting point if you’re more interested in decorating than the actual soap-making process.
Without further ado, here are some of our favorite bar soap kits and additions. Soon, you’ll have some great gifts for friends and family!

ZenseMe Bar Soap Kit
This one makes about 8-10 bars of soap depending on how you make your bars, so you can make a full set and then a few extras to experiment with some more creative additions.
This bar soap kit includes everything you’ll need for gifts, including the additions and labels. The soap base is shea butter and comes with colorants, dried herbs, and essential oils to add to the soap (Jasmine, Frankincense, Lavender, Tea Tree, Ylang Ylang, and Geranium).
You’ll need a few extra things like a pitcher, bowl, and stirring stick. You’ll probably have most of these at home, but here are some recommendations if you don’t have these set aside. (It’s recommended to keep them separate from normal use and reserve them just for soap making!)
Beakers are especially helpful if you’re doing different color combinations. While not required, it’ll help speed things up a bit to have a couple of mixing containers for differently colored bases.

Soligt Bar Soap Kit
This bar soap kit comes with everything you’ll need to start making soap, including a glass container and silicone spatula. It has a few extra colors so you can play around more with color combinations and comes with rose and lavender petals.
It sets a bit faster than most other kits, so you’ll need to work quickly! Just turn down the heat once it’s melted and leave the part of your soap that you’re not coloring on the heat, stirring every now and then.
If you’re looking for more floral additions, there are a few links for more herbs to put in your soap. The rose and lavender are fine, but it comes with just enough to lightly mix through twelve bars—you’ll probably want a bit more!
These also come with labels to wrap your soap with. Wrap them with decorative tissue, add a personalized note, and you’re good to go!
Putting Together Your Own Kit
While the above two kits are a great start, if you find you enjoy making bar soap and want to focus more on decorating, you’ll probably want to get a bit more equipment to make things easier.
Making soap in a loaf, then cutting it into even bars is much quicker (and you can make larger batches) than with the molds that only allow for a few bars at a time.
The main things you’ll need are a few silicon bar molds, adjustable cutters, a bowl, spatula, and all the additions you would usually find in a kit—your soap base, colorants, essential oils, and any other additions.
You could add dried herbs and imitation gemstones (in moderation!) if you wanted to add a little extra surprise.
Just be mindful that the heavier something is, the more likely it is to sink to the bottom. So you’ll have to add them when the soap has already had a bit of time to set. If you want it to be visible on the other side of the soaps, but the gemstones down first, with the flattest side against the mold, and then pour the soap in.
Another thing to account for—don’t add actual gems or minerals to the soap unless you’re absolutely sure they’re safe. It’s better to find glass imitations than to use actual gems or minerals, as many of them can react when exposed to water or certain chemicals. Especially if they’re raw, they can be toxic when exposed to water.
Here are some recommendations for equipment if you’re putting together your own kit:
For more to add to your bar soap…
We have a few different articles on essential oil combinations, as well as colorants, and other things to include in a variety of projects. Here are some other articles you might enjoy:
- Relaxing Essential Oils
- Essential Oils 101
- How to Make Your Own Bath Scrubs
- The Best Natural Colorants for Melt-and-Pour Soap Kits
- Other DIY Bath and Body Gifts
If you have any questions on soap-making kits (or making soap in general), let us know in the comments below! We’d love to hear from you.


